Creating your first contract
Description: This is the simplest contract to get you started. It introduces the basic structure of a smart contract and shows how to deploy and interact with it.
Purpose: To familiarize you with the basic syntax and deployment process of smart contracts on aelf blockchain.
Difficulty Level: Easy
Step 1 - Setting up your development environment
- Local
- Codespaces
- Basic knowledge of terminal commands
- IDE - Install VS Code
Note for Apple Silicon users:
Ensure that Rosetta is installed, if it is not, use the following command:
softwareupdate --install-rosetta
Install Required Packages
- Install dotnet 8.0.x SDK
- Install aelf contract templates
- Linux and macOs
- Windows
dotnet new --install AElf.ContractTemplates
dotnet new install AElf.ContractTemplates
AELF.ContractTemplates contains various predefined templates for the ease of developing smart contracts on the aelf blockchain.
- Install aelf deploy tool
dotnet tool install --global aelf.deploy
aelf.deploy is a utility tool for deploying smart contracts on the aelf blockchain. Please remember to export PATH after installing aelf.deploy.
ℹ️ Note: If you have installed aelf.deploy and your terminal says that there is no such command available, please uninstall and install aelf.deploy.
Install Node.js and Yarn
Install aelf-command
- Linux and macOs
- Windows
sudo npm i -g aelf-command
npm i -g aelf-command
aelf-command is a CLI tool for interacting with the aelf blockchain, enabling tasks like creating wallets and managing transactions. Provide required permissions while installing aelf-command globally.
- Visit aelf-devcontainer-template.
- Click the
Use this templatebutton. ChooseCreate a new repository. - Enter a suitable repository name. Click
Create repository. - Within the GitHub interface of your new repository, click on
Code. SelectCodespaces. - Click on the
+sign to create a new Codespace. - After some time, your workspace will load with the contents of the repository. You can now continue your development using GitHub Codespaces.
Step 2 - Develop Smart Contract
Start Your Smart Contract Project
-
Open your
Terminal. -
Enter the following command to generate a new project:
mkdir hello-world
cd hello-world
dotnet new aelf -n HelloWorld
Adding Your Smart Contract Code
Now Hello World template ready, let's customize it to add our own contract logic. We'll start by creating methods to update and read a message stored in the contract.
- Enter this command in your
Terminal.
cd src
The implementation of file src/HelloWorldState.cs is as follows:
using AElf.Sdk.CSharp.State;

namespace AElf.Contracts.HelloWorld
{
    // The state class is access the blockchain state
    public class HelloWorldState : ContractState
    {
        // A state that holds string value
        public StringState Message { get; set; }
    }
}
The implementation of file src/HelloWorld.cs is as follows:
// contract implementation starts here
namespace AElf.Contracts.HelloWorld
{
    public class HelloWorld : HelloWorldContainer.HelloWorldBase
    {
        // A method that updates the contract state, Message with a user input
        public override Empty Update(StringValue input)
        {
            State.Message.Value = input.Value;
            Context.Fire(new UpdatedMessage
            {
                Value = input.Value
            });
            return new Empty();
        }

        // A method that reads the contract state, Message
        public override StringValue Read(Empty input)
        {
            var value = State.Message.Value;
            return new StringValue
            {
                Value = value
            };
        }
    }
}
Building Smart Contract
Build the new code with the following commands inside src folder:
dotnet build
Step 3 - Deploy Smart Contract
Create A Wallet
To send transactions on the aelf blockchain, you must have a wallet.
- Run this command to create aelf wallet.
aelf-command create

- You will be prompted to save your account, please do save your account as shown below:
? Save account info into a file? (Y/n) Y
Make sure to choose Y to save your account information.
ℹ️ Note: If you do not save your account information (by selecting n or N), do not export the wallet password. Only proceed to the next step if you have saved your account information.
- Next, enter and confirm your password. Then export your wallet password as shown below:
- Linux and macOs
- Windows
export WALLET_PASSWORD="YOUR_WALLET_PASSWORD"
$env:WALLET_PASSWORD = "YOUR_WALLET_PASSWORD"
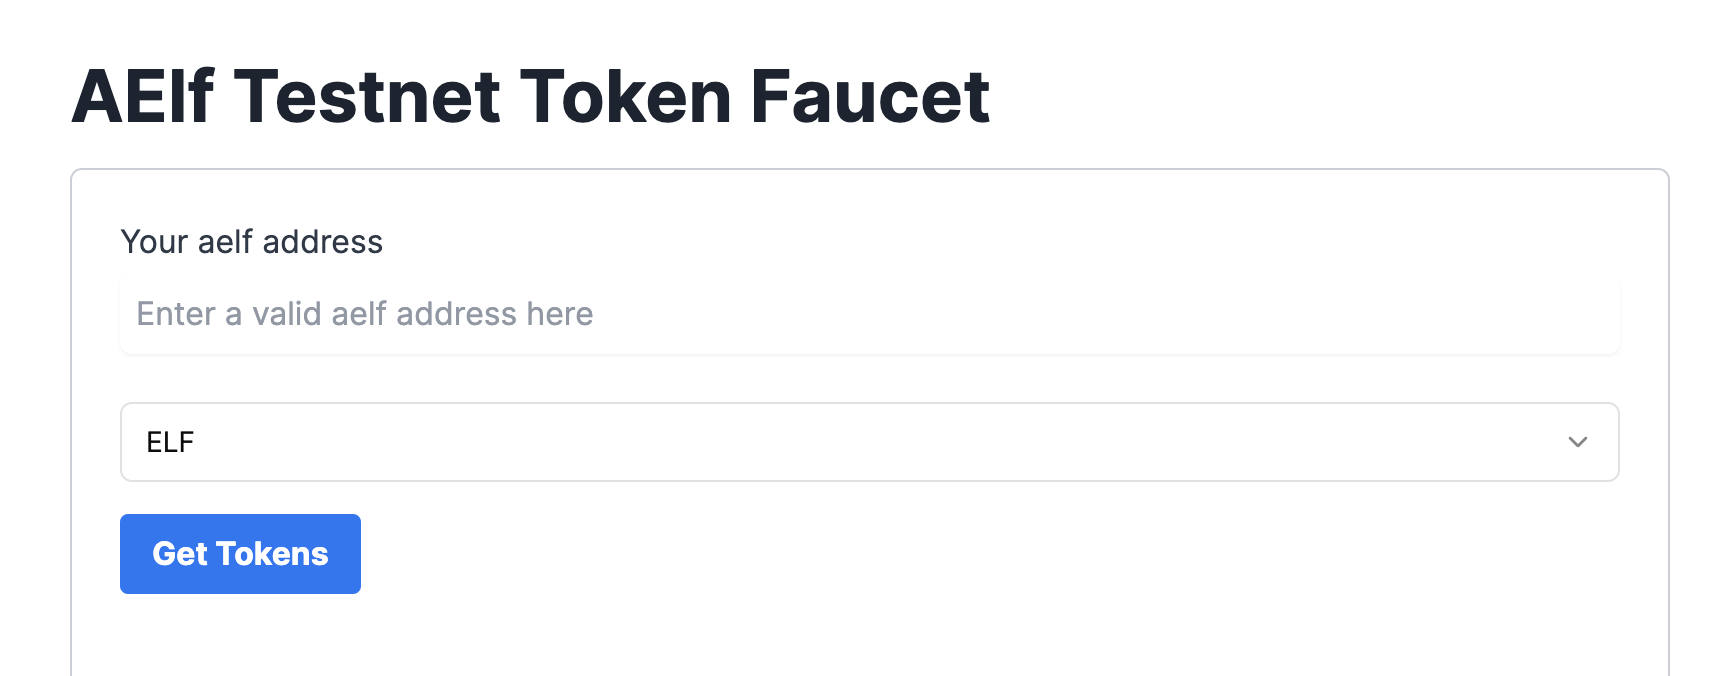
Acquire Testnet Tokens (Faucet) for Development
To deploy smart contracts or execute on-chain transactions on aelf, you'll require testnet ELF tokens.
Get ELF Tokens
Go to https://faucet-ui.aelf.dev Enter your address and click Get Tokens.
Deploy Smart Contract:
The smart contract needs to be deployed on the chain before users can interact with it.
Run the following command to deploy a contract. Remember to export the path of HelloWorld.dll.patched to CONTRACT_PATH.
- Linux and macOs
- Windows
export CONTRACT_PATH=$(find ~+ . -path "*patched*" | head -n 1)
aelf-deploy -a $WALLET_ADDRESS -p $WALLET_PASSWORD -c $CONTRACT_PATH -e https://tdvw-test-node.aelf.io/
$CONTRACT_PATH = Get-ChildItem -Recurse -Filter "*patched*" | Select-Object -First 1 -ExpandProperty FullName
$env:CONTRACT_PATH = $CONTRACT_PATH
aelf-deploy -a $env:WALLET_ADDRESS -p $env:WALLET_PASSWORD -c $env:CONTRACT_PATH -e https://tdvw-test-node.aelf.io/
-
Please wait for approximately 1 to 2 minutes. If the deployment is successful, it will provide you with the contract address.
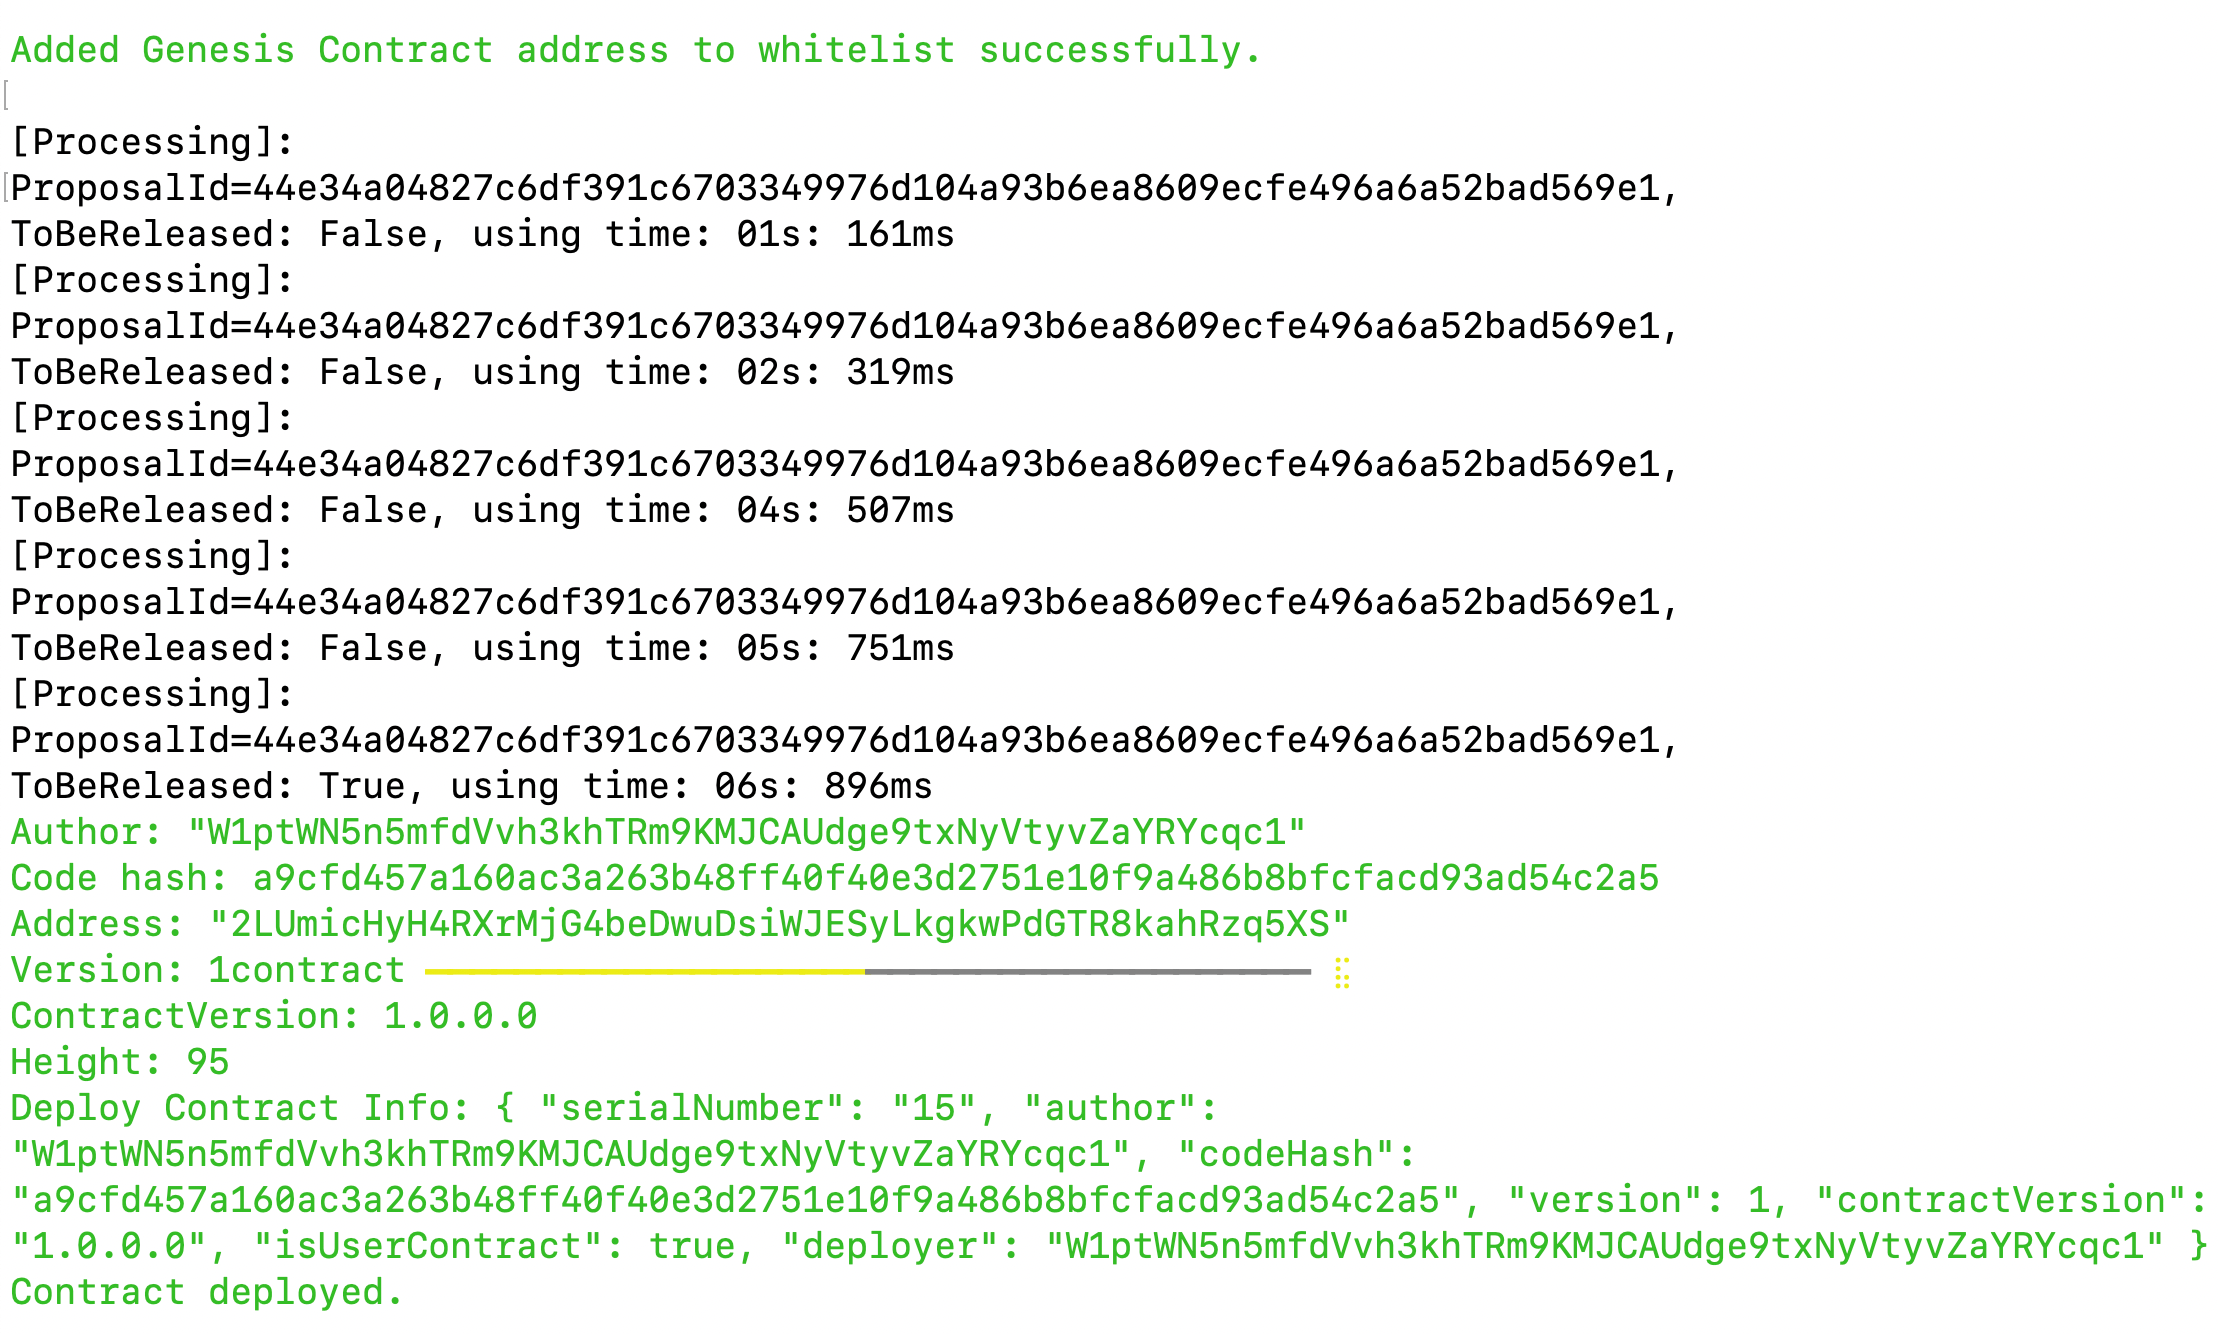
-
Copy the smart contract address from the
addressfield
-
Export your smart contract address:
- Linux and macOs
- Windows
export CONTRACT_ADDRESS="YOUR_SMART_CONTRACT_ADDRESS e.g. 2LUmicHyH4RXrMjG4beDwuDsiWJESyLkgkwPdGTR8kahRzq5XS"
$env:CONTRACT_ADDRESS="YOUR_SMART_CONTRACT_ADDRESS e.g. 2LUmicHyH4RXrMjG4beDwuDsiWJESyLkgkwPdGTR8kahRzq5XS"
ℹ️ Note: You are to copy the smart contract address as we will be referencing it in the next steps!
🎉 You have successfully deployed your dApp smart contract on the aelf testnet! In the next steps, we will be building the frontend components that allow us to interact with our deployed smart contract!
Step 4 - Interact with Your Deployed Smart Contract
Lets try to call methods on your newly-deployed smart contract using aelf-command.
Firstly, we will set a message using the Update method. Run the following command,
and enter the message argument as test. This will set test into the Message contract state.
Remember to export CONTRACT_ADDRESS equals to your deployed contract address.
aelf-command send $CONTRACT_ADDRESS -a $WALLET_ADDRESS -p $WALLET_PASSWORD -e https://tdvw-test-node.aelf.io Update
After that, we can use Read method to retrieve the value previously set for the Message contract state.
Running the following command should yield test.
aelf-command call $CONTRACT_ADDRESS -a $WALLET_ADDRESS -p $WALLET_PASSWORD -e https://tdvw-test-node.aelf.io Read
🎯 Conclusion
🎊 Congratulations!
You've successfully completed the Hello World Contract tutorial! Awesome job sticking with it until the end. 🌟
📚 What You've Learned
In this tutorial, you've discovered:
- 🛠️ How to set up your development environment for aelf.
- 💻 The basics of writing a smart contract in C# for the aelf blockchain.
- 🚀 How to deploy and interact with your Hello World Contract on the aelf network.
🔍 Final Output
By now, you should have:
- 📜 A deployed Hello World Contract on the aelf blockchain.
- 🎉 Successfully invoked the contract to set and read a message.
To verify, you should have seen the test message returned when you called the Read method after setting it using the Update method. If you see this message, you've nailed it! 🏆
➡️ What's Next?
Now that you've got the basics down, why not dive into more advanced topics or other tutorials like the Lottery Game Contract or Voting Contract?
Keep experimenting and building to level up your aelf blockchain development skills. 🚀
Happy coding! 😊